Out of my ice cream experiments thus far, this sweet corn ice cream is one of my favorites. It's like a sweet, frozen creamed corn. This recipe is very rich, so feel free to add more milk. I didn't do a great job of removing the solid corn puree, but the ice cream tasted fine with a little bit of corn texture. The tricky part of this custard mix was determining when it was finished cooking. The corn puree makes the base very thick to begin with, so it was hard for me to use the spoon trick. I would recommend using a thermometer.
Sweet Corn Ice Cream
Adapted from Epicurious/Gramercy Tavern
Yield: Makes a scant quart
4 ears fresh corn, shucked
2 cups milk
2 cups heavy cream
3/4 cup sugar
9 large egg yolks
1. Using a large knife, slice the kernels off the corn cobs and place in a large saucepan. Break the cobs into thirds and add them to the pot along with the milk, cream, and 1/2 cup of the sugar. Bring the mixture to a boil, stirring, then turn off the heat. Using an immersion mixer or a blender, puree the corn kernels (not the cobs). Infuse for 1 hour.
2. Bring the mixture back to a simmer, then turn off the heat. In a small bowl, whisk the egg yolks and remaining 1/4 cup of sugar. Temper the eggs and return the mixture to the pan. Cook over medium-low heat, stirring constantly, until the custard thickens enough to coat the spoon, about 10 minutes.
3. Pass the custard through a fine sieve, pressing down hard on the solids, discard solids. Let the custard cool, then cover and chill for at least 4 hours. Freeze in an ice cream maker according to the manufacturer's directions.
August 5, 2010
Sweet Corn Ice Cream
August 4, 2010
Corn Chowder with Bacon and Basil

My wonderful new office space organizes a weekly CSA delivery, and I am reaping the benefits. Although I haven't signed up for a share since we're moving to a new office in a couple of weeks, I have been helping myself to the free leftovers. For the past two weeks, the leftovers have been corn, a Midwesterner's best friend. Growing up in Illinois, I went to a corn festival every year, not by choice. The forced attendance pretty much ruined corn for me, but my love for corn has been recently reignited. In fact, I'm eating a corn salad while I'm typing up this post.
While looking around on Tastespotting, I came across a delicious-looking picture for a summer corn chowder. For a chowder with bacon, this soup is surprisingly light. A vegetarian version would have been tasty, but the smokiness from the bacon really sold me.
Corn Chowder with Bacon and Basil
Adapted from Bitchin' Camero
Serves 4
5 slices pepper bacon, cut into strips (regular is fine too)
1 small yellow onion, diced
2 medium red potatoes, diced
4 ears of corn, shucked
1 1/2 cups chicken stock
1 cup slim milk
1 tablespoon. salt (or to taste)
1/2 teaspoon freshly ground black pepper
1 bunch basil leaves, thinly sliced (chiffonade)
1. Set a large pot over medium heat and add the bacon. Cook until all of the fat is rendered and the bacon turns golden and crisp, about 8 minutes. Remove the bacon to a paper towel with a slotted spatula or spoon. Leave the bacon fat in the pot.
2. Add the onions and potatoes to the pot and cook, stirring occasionally to prevent sticking, until the onions turn translucent, about 10 – 15 minutes. Add the corn and stock and use a wooden spoon to deglaze the bottom of the pot. Let simmer for an additional 5 – 10 minutes.
3. Remove from heat and stir in the milk. Using an immersion blender or food processor, pulse the soup a few times to thicken, but avoid making it too smooth.
4. Return to low heat and add the salt and pepper. Taste and adjust the seasoning as needed.
5. Ladle into bowls and top with the bacon and basil ribbons.
August 2, 2010
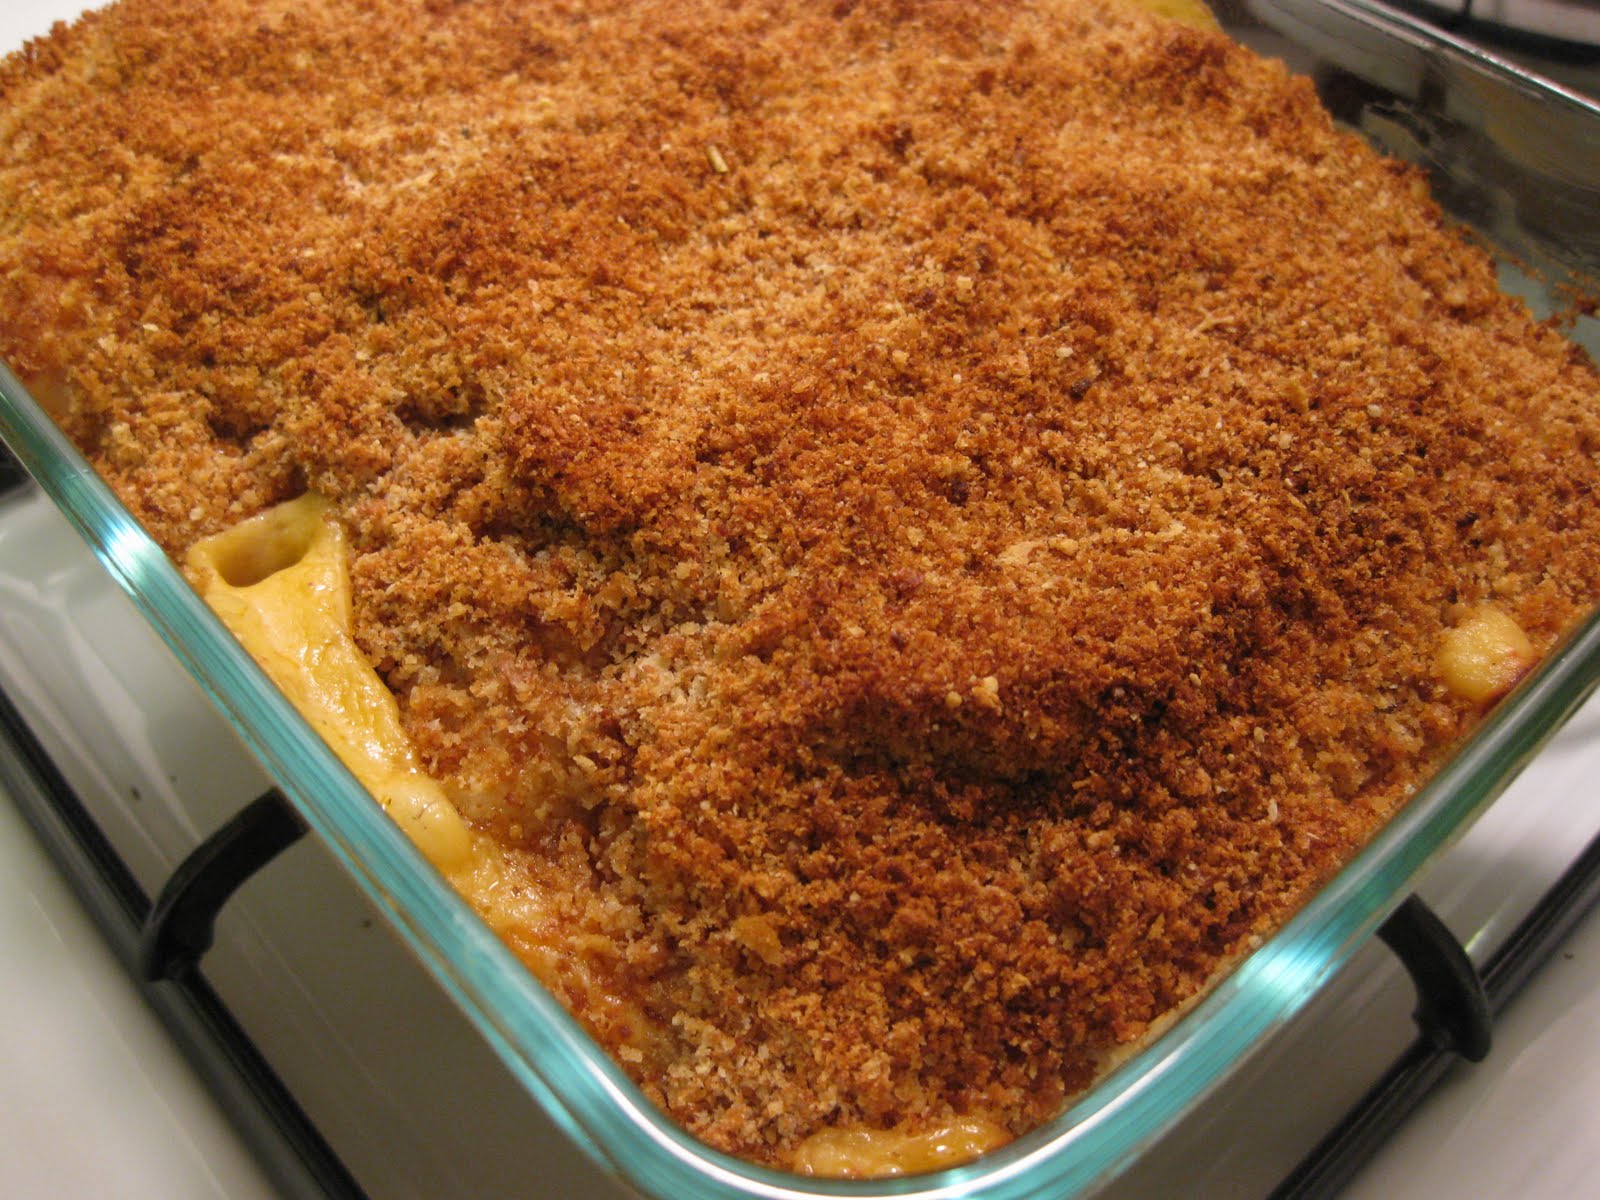
Kimchi Bacon Mac and Cheese

Whenever Mama Kim rolls into town, I can guarantee that there will be at least one large Ziploc bag of kimchi with her luggage. So, what do I do with all the kimchi? Kimchi stew, spicy tofu, cold noodles, and pancakes are usually what I turn to when I need to use my super fermented kimchi. Recently, I had a glorious idea for a dish that calls for kimchi. Take a basic mac and cheese, add kimchi and bacon, and you've got yourself a new Korean-American classic. Seriously, how is this not already a trend? Although it sounds strange, cheese complements Korean flavors really well. I've seen it in ramen and kimbap, so a kimchi mac and cheese seemed like a natural combination.
This kimchi bacon mac and cheese is dangerously delicious. The combination of rich cheese, salty bacon, and sour kimchi is unlike anything that I've ever tasted, and I'm finding it hard to exercise portion control. You have been warned.
Kimchi Bacon Mac and Cheese
Mac and Cheese Base Adapted from Martha Stewart (via Smitten Kitchen)
Serves 6
1 1/2 cups kimchi
6 slices bacon
3 1/2 tablespoons butter
1 cup breadcrumbs
2 3/4 cups milk
1/4 cup all-purpose flour
1/8 teaspoon ground nutmeg
1/8 teaspoon freshly ground black pepper
1/8 teaspoon cayenne pepper
2 1/4 cups grated sharp white cheddar cheese
1 cup (about 8 ounces) grated Gruyère
1/2 pound elbow macaroni (I used whole wheat)
1. Preheat oven to 375°F. Squeeze kimchi to remove excess juice. Dice into small, 1/2 inch pieces.
2. Cook bacon in a skillet until crispy. Remove bacon with a slotted spoon and pat with paper towels. Cook kimchi in remaining bacon fat over medium heat until slightly tender, about 4-5 minutes.
3. Warm the milk in a medium saucepan over medium heat. Melt 3 tablespoons butter in a high-sided skillet over medium heat. When the butter bubbles, add the flour. Cook, stirring, 1 minute.
4. While whisking, slowly pour in the hot milk a little at a time to keep mixture smooth. Continue cooking, whisking constantly, until the mixture bubbles and becomes thick.
5. Remove the pan from the heat. Stir in nutmeg, black pepper, cayenne pepper, 1 1/2 cups cheddar cheese, and 3/4 cup Gruyère. Add the bacon and set the cheese sauce aside.
6. Cover a large pot of water, and bring to a boil. Cook the macaroni until the outside of pasta is cooked and the inside is underdone. Transfer the macaroni to a colander, rinse under cold running water, and drain well. Stir the macaroni and kimchi into the reserved cheese sauce. If desired, salt to taste.
7. Melt 1/2 tablespoon butter in a skillet and toast breadcrumbs until golden.
8. Pour the mixture into the prepared dish. Sprinkle the remaining 3/4 cups cheddar cheese, 1/4 cup Gruyère, and the breadcrumbs over the top. Bake until golden brown, about 20-30 minutes. Transfer the dish to a wire rack for 5 minutes; serve.